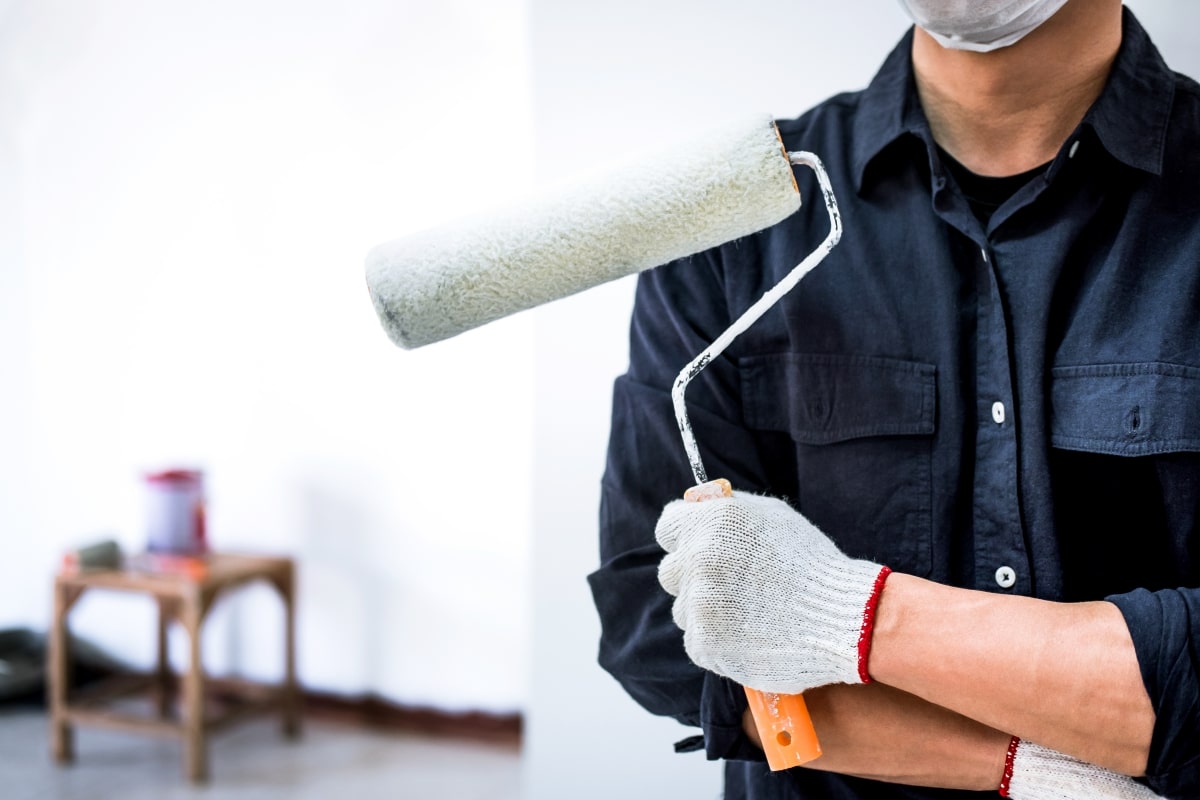
Paint your interior can breathe new life into a room and is a rewarding DIY project if done properly. Here’s a step-by-step guide about “how to paint interior” to help you achieve a professional-looking finish:
1. Prepare the Room
- Clear the Area: Remove as much furniture as possible, or move it to the center of the room and cover it with drop cloths or plastic sheets. Take down any curtains, light fixtures, or wall hangings.
- Protect the Floors: Use drop cloths, plastic sheets, or painter’s tape to protect your floors. Make sure all surfaces that shouldn’t be painted are covered well.
2. Prepare the Walls
- Clean the Walls: Dust and clean the walls with soap and water or a mild cleaner to remove any dirt, grease, or grime. If there are any stains, clean them with a stain remover.
- Fill Holes or Cracks: Use a spackle or a wall filler to patch any holes, dents, or cracks. Allow the filler to dry completely and sand it smooth with fine-grit sandpaper (Korean).
- Sand the Walls: Lightly sand the entire surface to create a smooth, even surface for the paint. This is especially important if you’re painting over a glossy finish.
- Prime the Walls (if necessary): If you’re painting over dark colors, stains, or raw drywall, apply a wall primer to help with adhesion and coverage. This is also important for new drywall or heavily patched areas.
3. Tape Off Trim and Edges
- Masking Tape: Apply Masking tape along the edges of trim, windows, doors, and ceilings to protect these areas from paint splatters. Make sure the tape is pressed down firmly to avoid paint bleeding underneath.
4. Choose the Right Paint and Tools
- Paint Type: Choose a paint that suits the room’s function. For example:
- Emulsion: Great for hiding imperfections but harder to clean. Best for low-traffic areas.
- Plastic Emulsion: Ideal for living rooms or bedrooms; these finishes are easy to clean and have a slight sheen.
- Water Matt or Oil Paint: Perfect for high-traffic areas, kitchens, and bathrooms where moisture and stains are common.
- Quality Brushes and Rollers: Invest in good-quality brushes (for trim and edges) and rollers (for large areas). A 3- to 4-inch angled brush is ideal for cutting in edges, and a Universal 9-inch roller is perfect for walls.
5. Cut in the Edges (Trim and Corners)
- Use a Brush for Edges: Start by using the angled brush to “cut in” along the edges of walls, ceiling, and trim. Work in small sections, painting about 3–4 inches of the edge around the room before you use the roller.
- Be Precise: Take your time and ensure your brushwork is neat along the tape edges. This will create sharp lines between different surfaces.
6. Roll the Walls
- Load the Roller: Dip the roller into the paint tray and roll it back and forth to evenly distribute the paint. Make sure the roller is not overloaded with paint to avoid drips.
- Roll in Sections: Start at the top of the wall and roll the paint in a “W” or “M” pattern. This helps distribute the paint evenly across the surface.
- Work Quickly: Try to cover one section at a time, ensuring the paint doesn’t dry before you’ve finished the area. This will prevent visible lap marks.
- Overlap Edges: Roll over the areas you’ve cut in with the brush to blend the edges and avoid streaks.
7. Apply Additional Coats
- Let the First Coat Dry: Allow the first coat to dry completely (check the manufacturer’s drying time on the paint can).
- Inspect Coverage: After the first coat is dry, check for any missed spots or uneven areas. Apply a second (or third) coat as needed to ensure even, full coverage.
- Use Sandpaper (if necessary): If the surface feels rough after drying, lightly sand with fine-grit sandpaper and wipe away dust before applying the next coat.
8. Remove the Masking Tape
- Wait for Paint to Dry: Allow the paint to dry for at least an hour (or as per the recommended time) before removing the tape.
- Remove Carefully: Gently pull the painter’s tape off at a 45-degree angle while the paint is still slightly tacky. If the paint has dried completely, score the edge of the tape with a utility knife before removing it to prevent peeling paint.
9. Touch Up and Clean Up
- Touch-Up Edges: After removing the tape, you may need to do some touch-ups along the edges or areas where the paint bled slightly.
- Clean Brushes and Rollers: Wash your brushes, rollers, and trays with water and soap if you use latex paint. If you use oil-based paint, clean them with paint thinner or mineral spirits.
- Dispose of Paint Cans Properly: If you have leftover paint, seal the can tightly and store it in a cool, dry place for future touch-ups. If you need to dispose of it, check local regulations for safe disposal methods.
10. Allow Paint to Cure
- Curing Time: While the paint may feel dry to the touch after a few hours, it can take up to two weeks to fully cure. Avoid heavy cleaning or putting furniture back too soon to allow the paint to set completely.
Tips for a Professional Finish:
- Use Good Lighting: Proper lighting in the room helps you see any missed spots or streaks during the painting process.
- Work with the Light: Paint from one side of the room to the other, working with the natural light, to avoid overlapping areas that are already drying.
- Ventilation: Keep windows open or use fans to ensure good ventilation while painting, especially if you’re working with oil-based paints or in confined spaces.
By following these steps, you’ll be able to transform your interior with a clean, smooth, and professional-looking paint job. Patience and attention to detail are key!